Contact Us

AGLED-40012 · SERVICE GUIDE

How to replace the AGLED-40012 UVC LED module

This UV water treatment system maintenance guide focuses on one task: replacing the AGLED-40012 UVC LED module and checking the reassembled unit.

We provide the tools needed for this replacement. Confirm that the new module matches your AGLED-40012, follow the video and six steps below, and check that each part is correctly seated before restoring water and power. Keep the AGLED-40012 owner’s manual ↗ at hand for product-specific instructions.

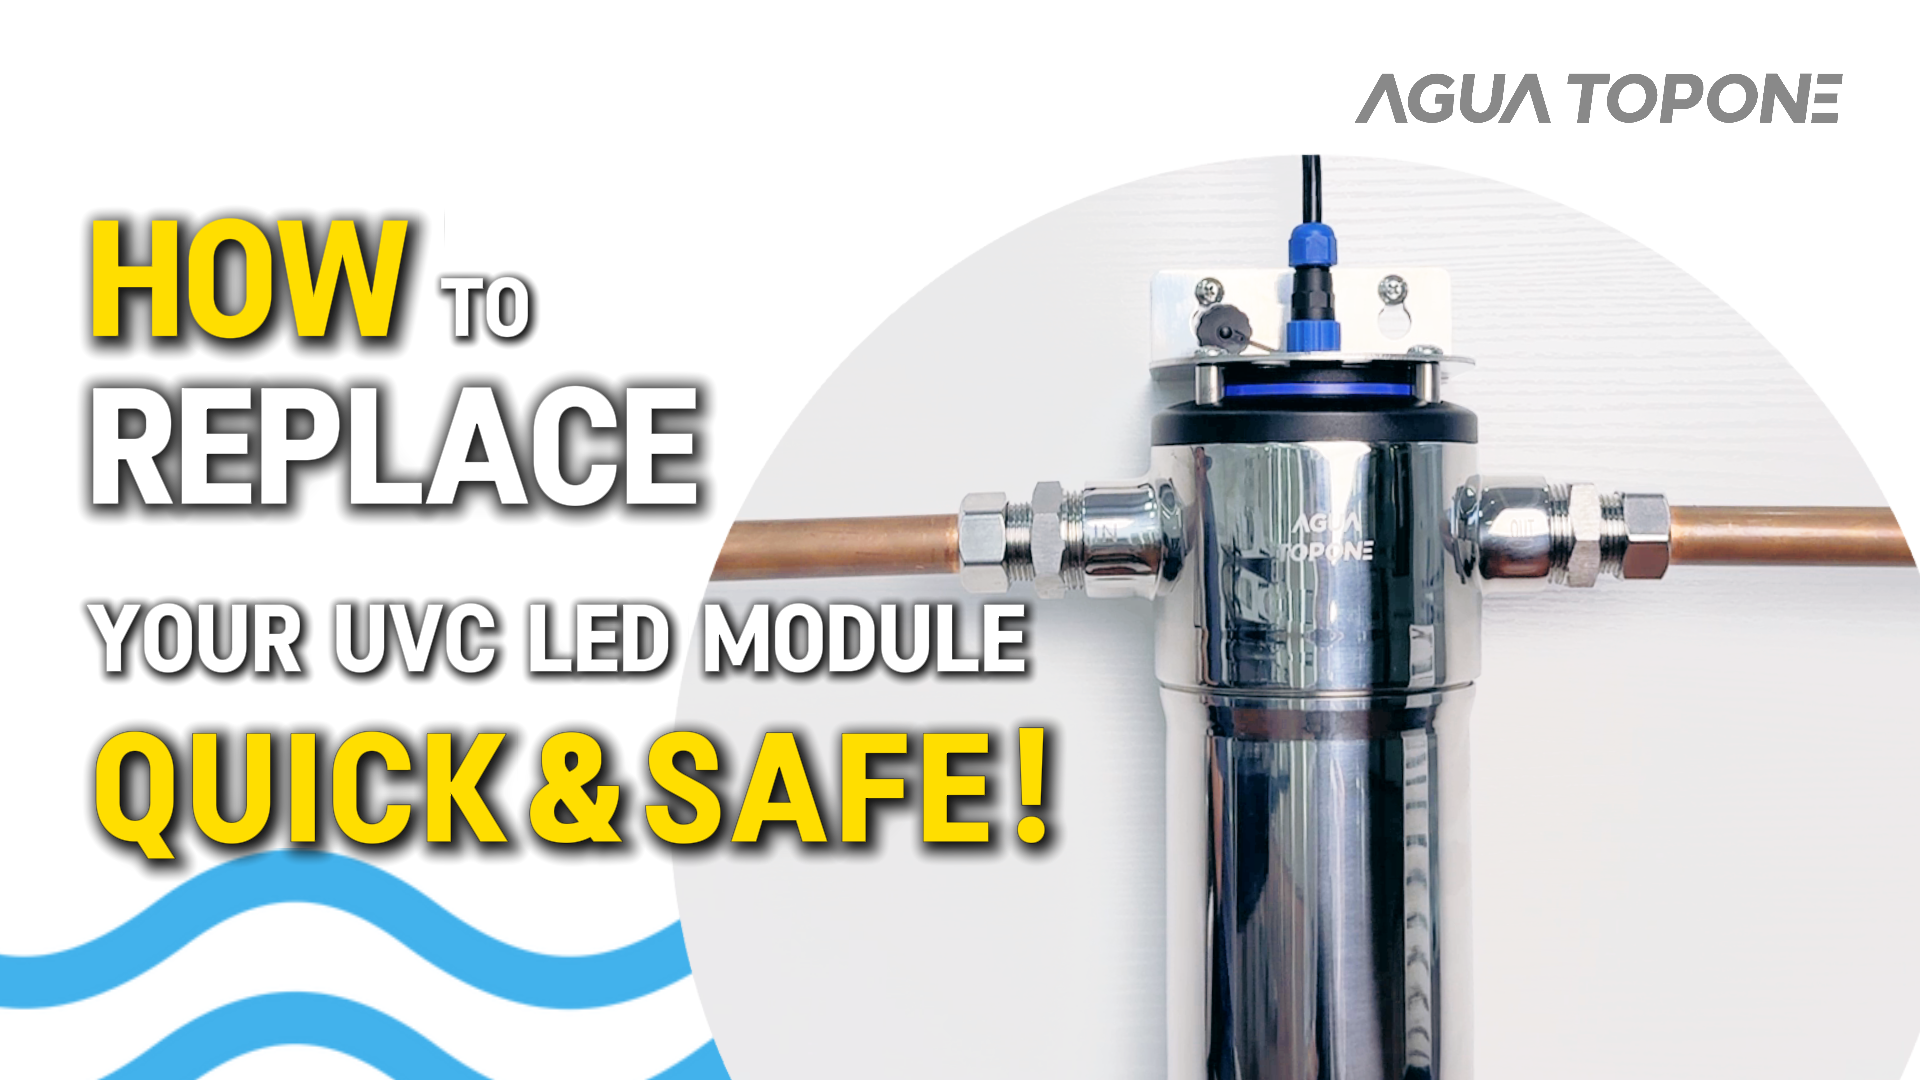
AGLED-40012 UVC LED module replacement poster showing the installed chamber

01 / WATCH

See the complete replacement

Watch the full sequence before opening the housing. The photos below show reference moments from the same demonstration.

AGLED-40012 replacement demonstrationWatch on YouTube ↗

02 / PREPARE

Before you open the chamber

Have the matching replacement module and the tools we provide ready. Keep suitable cleaning materials on hand.

01

Isolate power

Disconnect and isolate the electrical supply. Never energize an exposed UVC LED assembly.

02

Release pressure

Close the main water valve, open the outlet and let the system drain. Never open a pressurized housing.

03

Protect the parts

Keep removed components and terminal connectors clean and dry throughout the replacement.

03 / REPLACE

Six steps, in order

Follow the demonstration and the current service instructions for your exact unit.

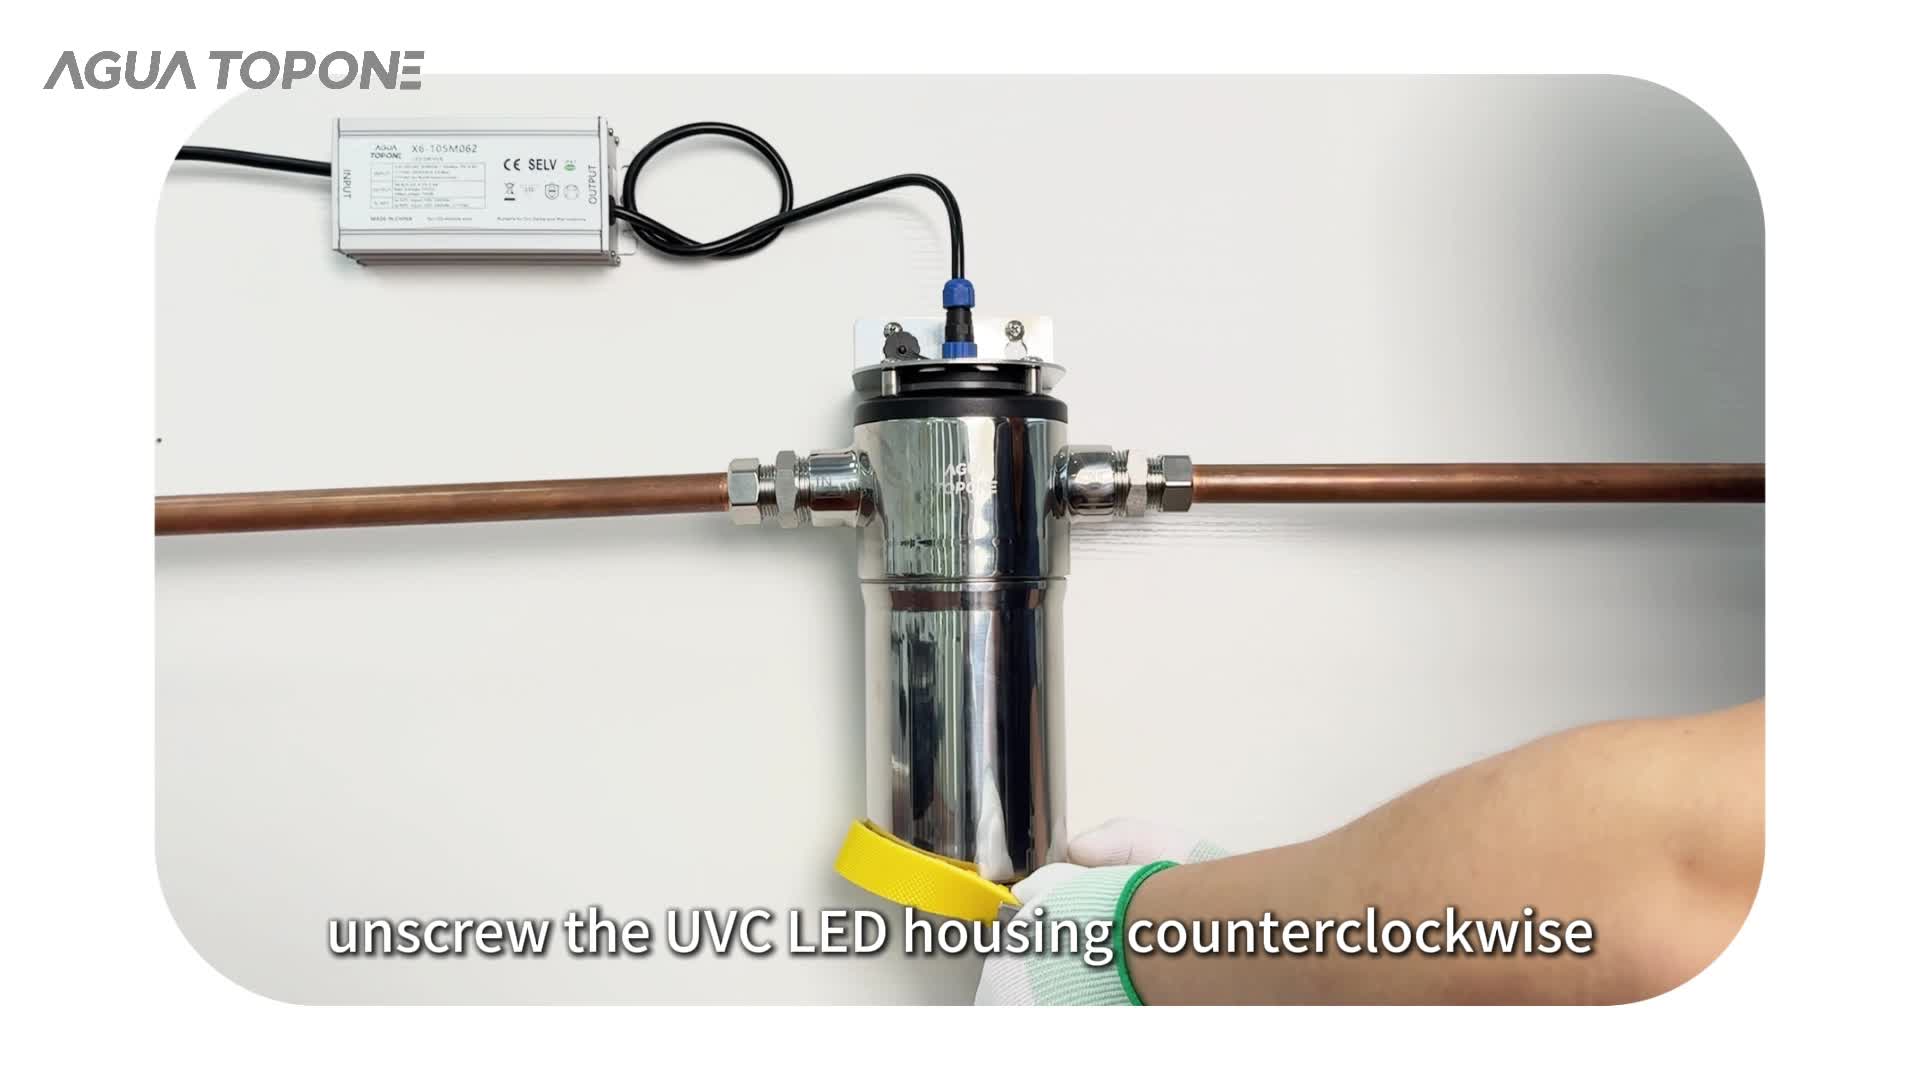
Strap wrench loosening the AGLED-40012 housingVIDEO 00:22
01

Open the housing

With power isolated and the water line drained, disconnect the input cable. Hold the housing and loosen it counterclockwise with a strap wrench. Remove it and set it on a clean surface.

Check Keep the housing supported as it comes free.
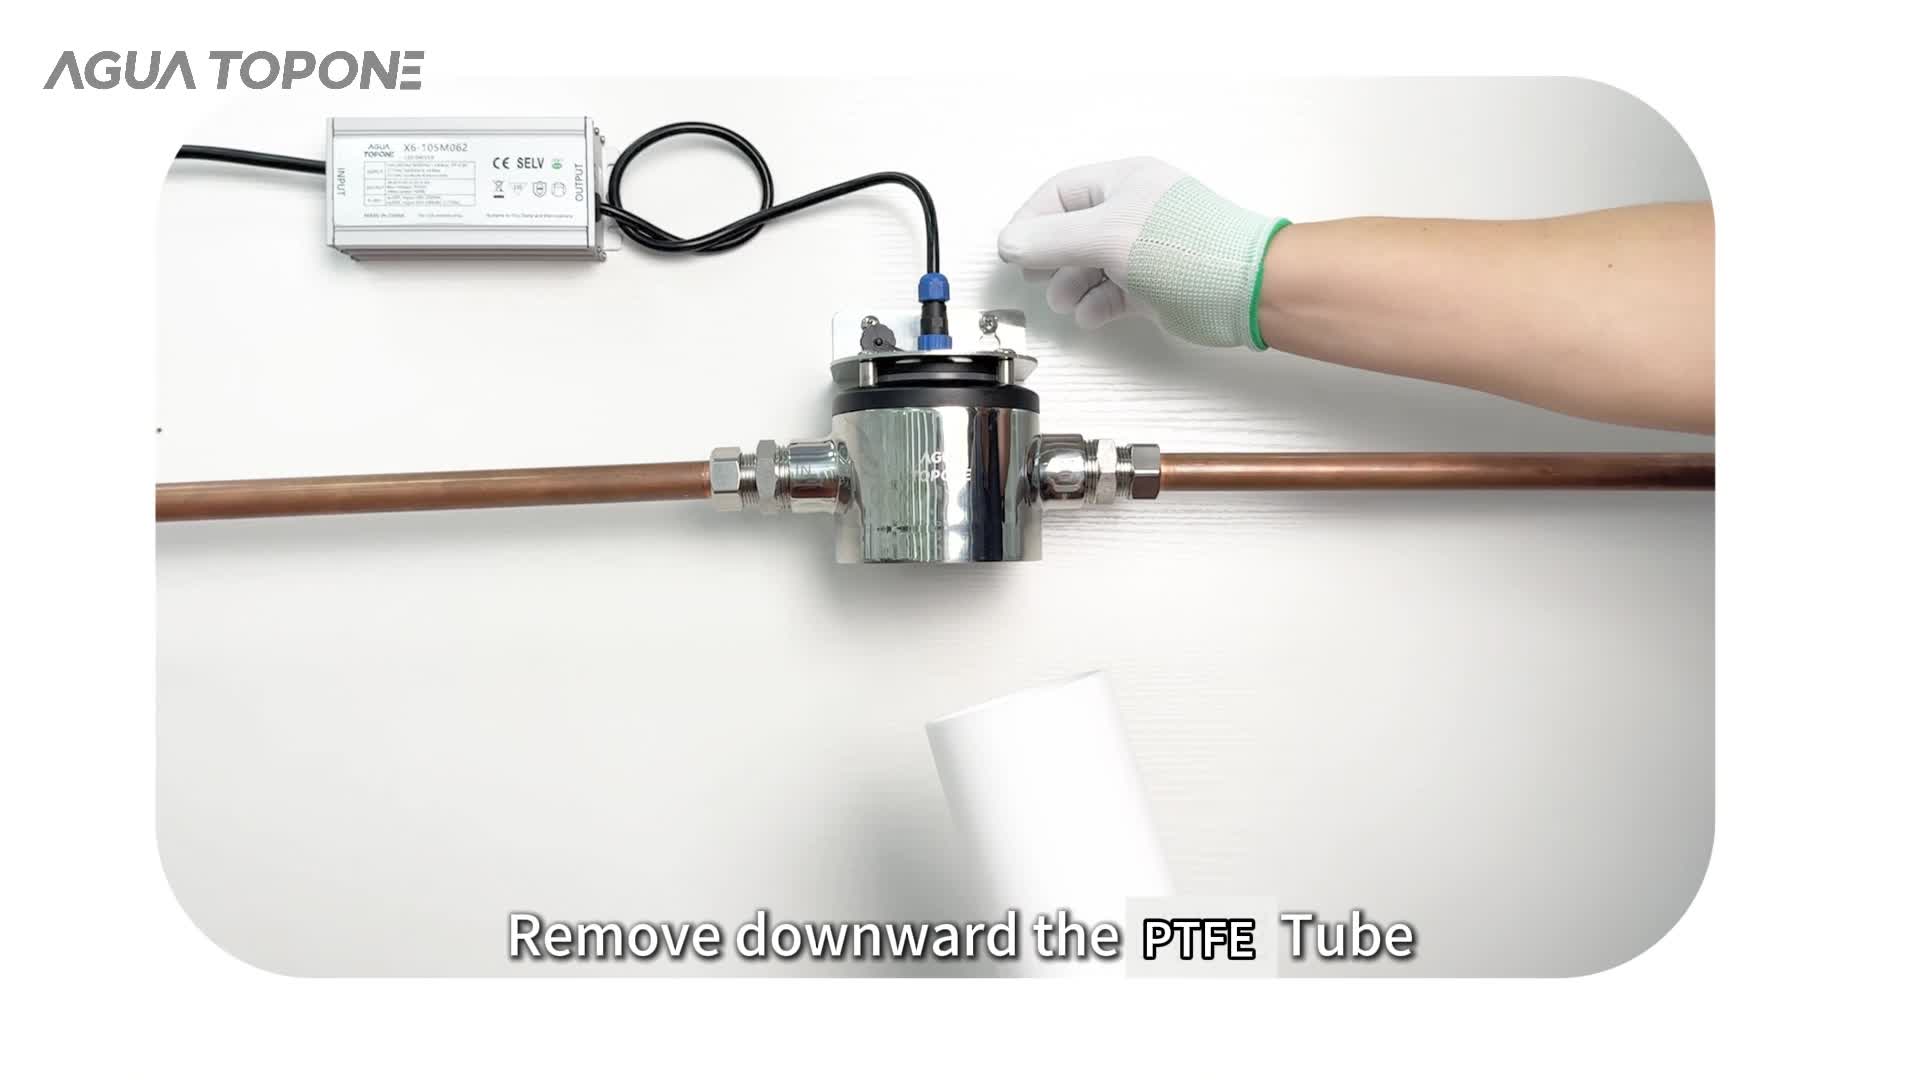
PTFE tube being withdrawn from the AGLED-40012VIDEO 00:33
02

Remove the PTFE tube

Withdraw the PTFE tube downward. Clean its inner and outer surfaces and the base, as shown in the demonstration. Protect the tube from damage until reassembly.

Check Inspect the tube for damage before reuse.

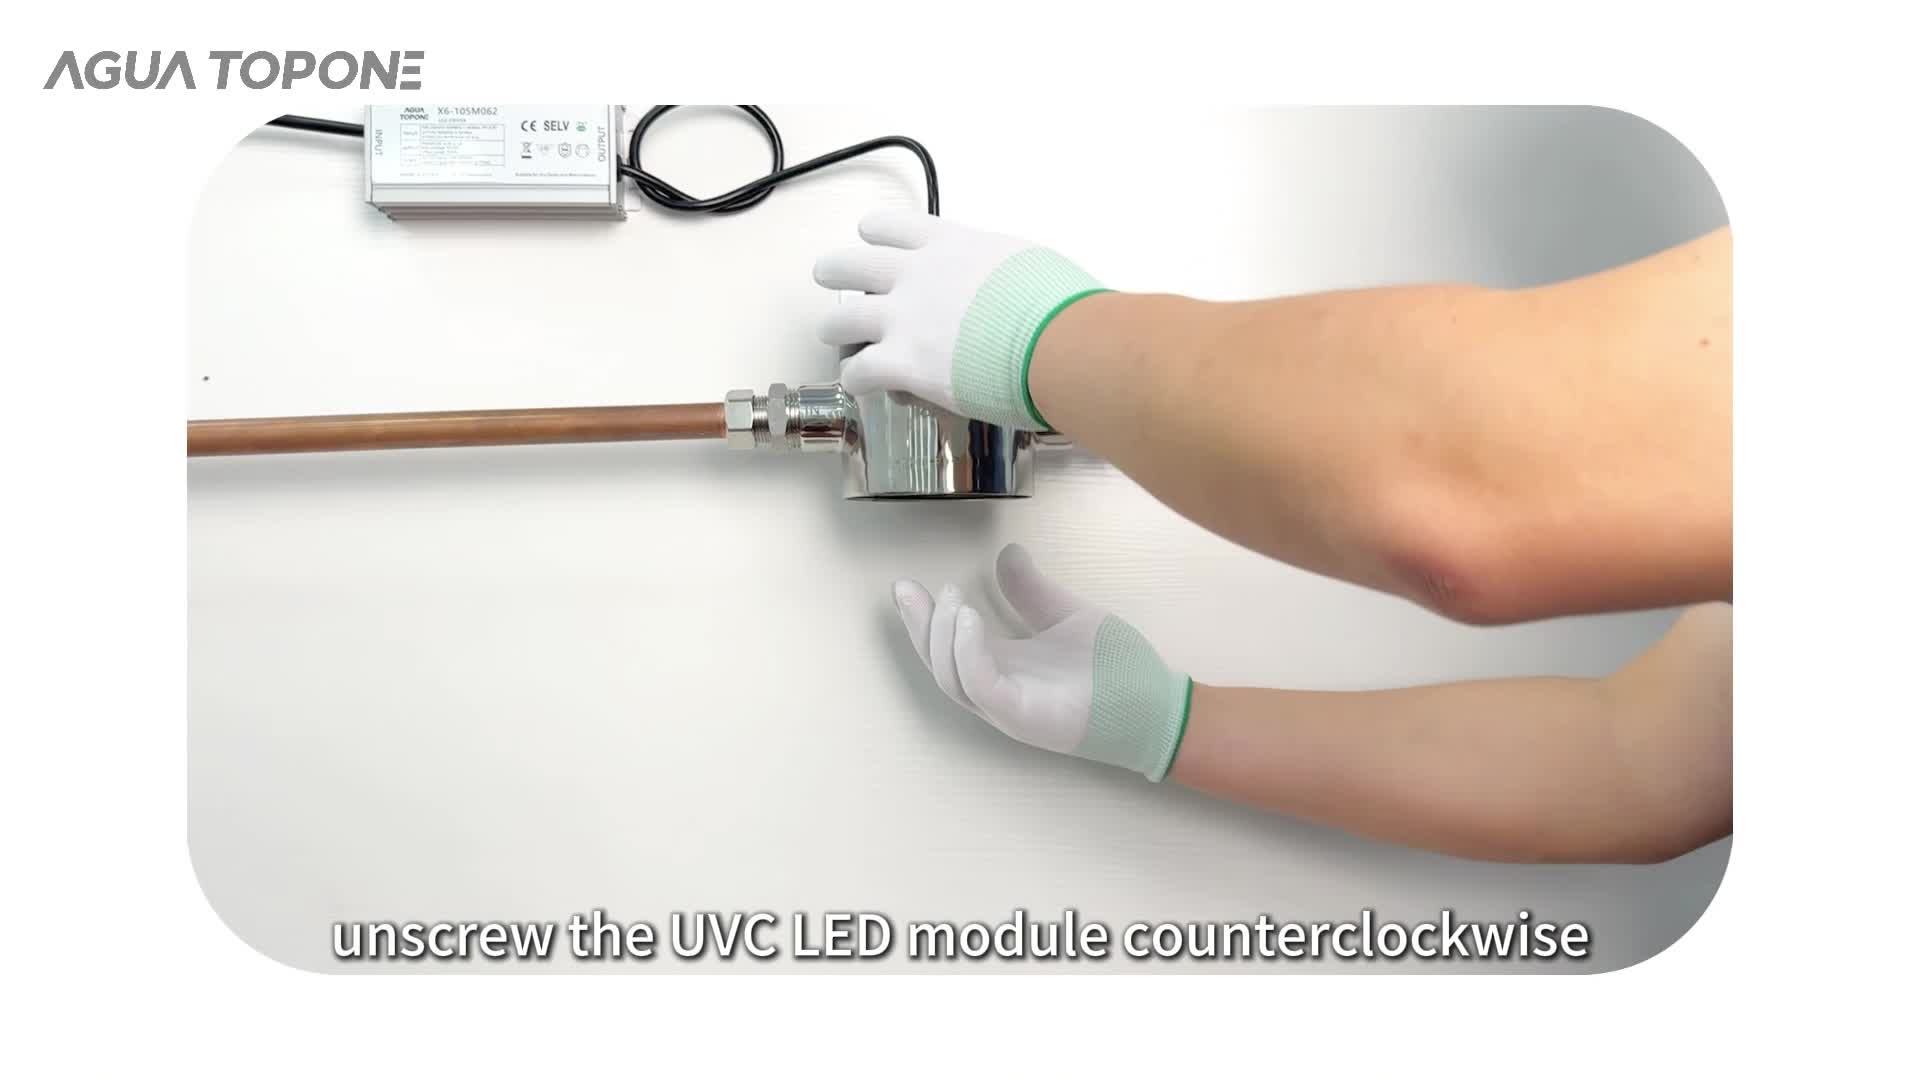
Technician loosening the AGLED-40012 UVC LED moduleVIDEO 00:44
03

Remove the old LED module

Seat the module wrench shown in the demonstration and turn counterclockwise. Support the module as it comes free, then separate the terminal connectors without pulling on the wires.

Check Keep the connectors clean and dry.

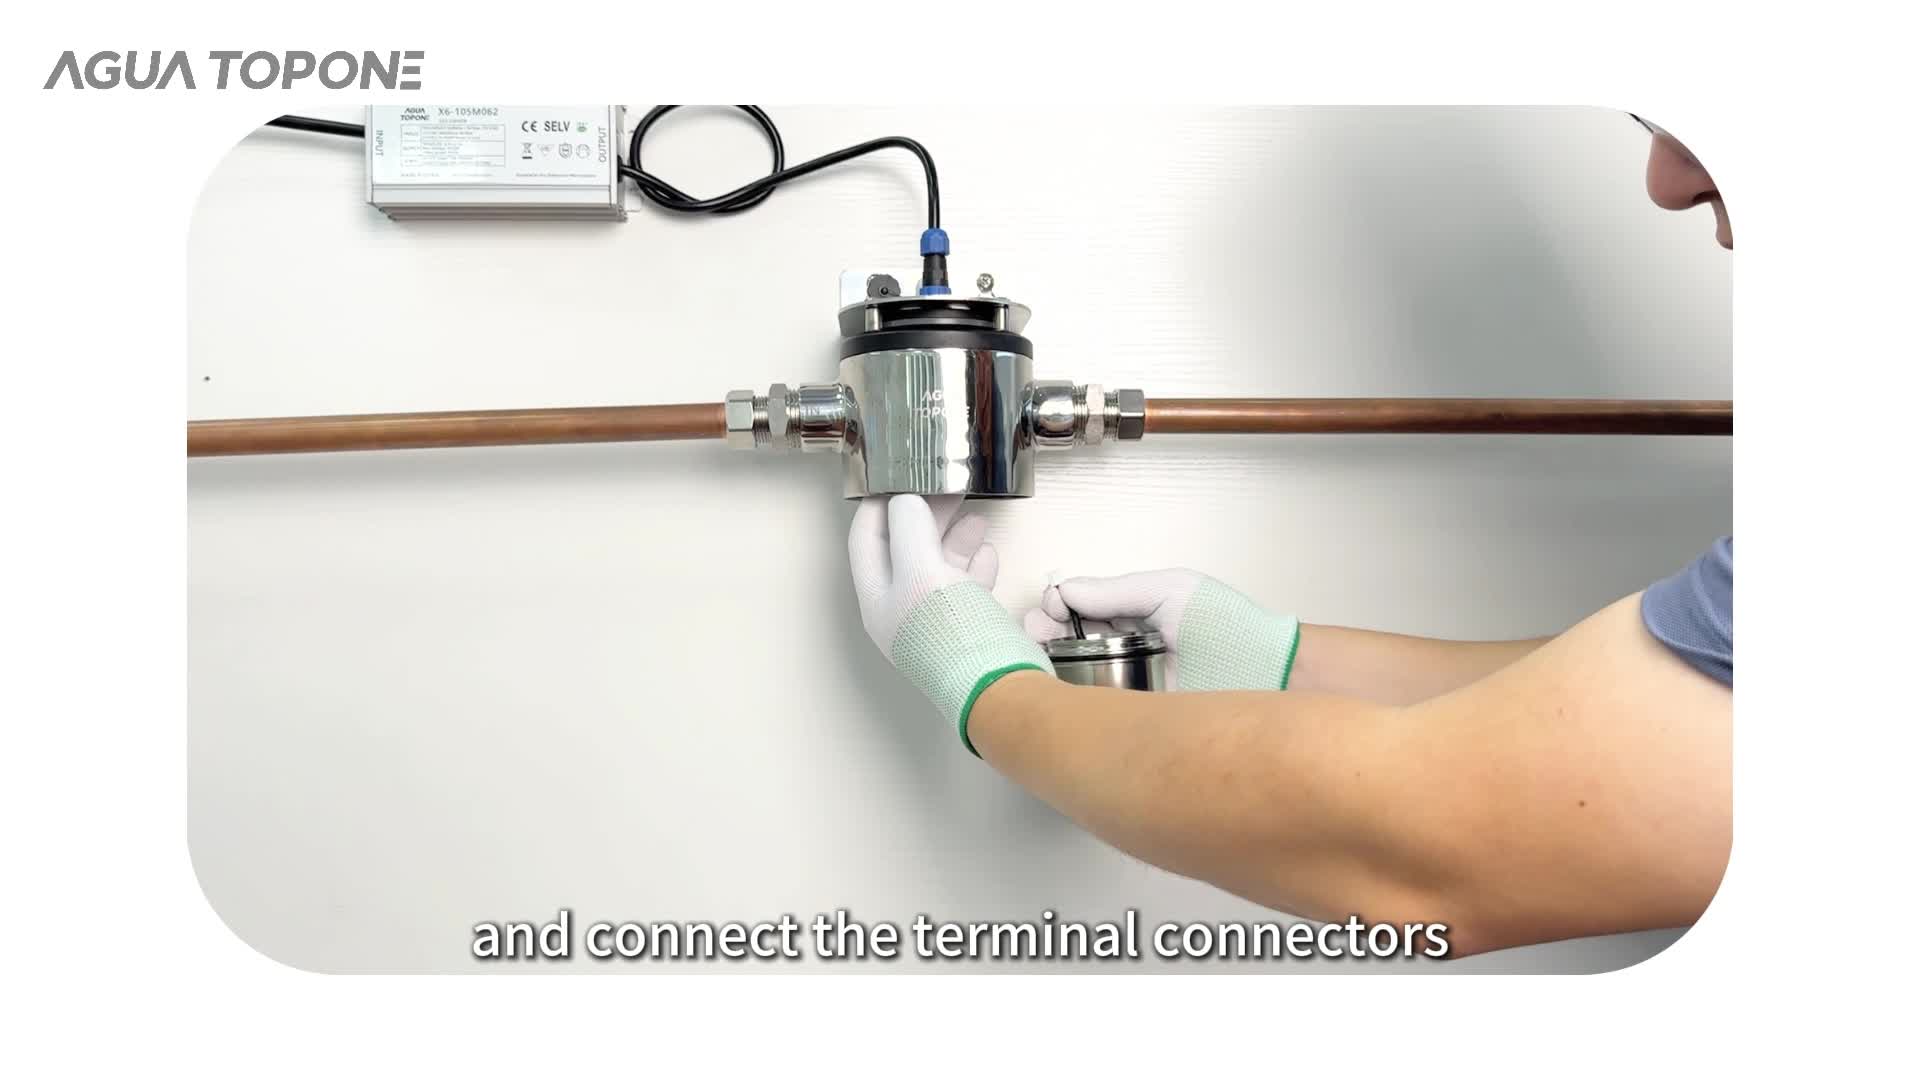
Replacement UVC LED module terminal connectors being joinedVIDEO 00:55
04

Fit the replacement module

Connect the matching terminals. Align the new module and start its thread by hand. Once correctly engaged, secure it with the appropriate service wrench.

Check Stop if the thread does not engage smoothly.

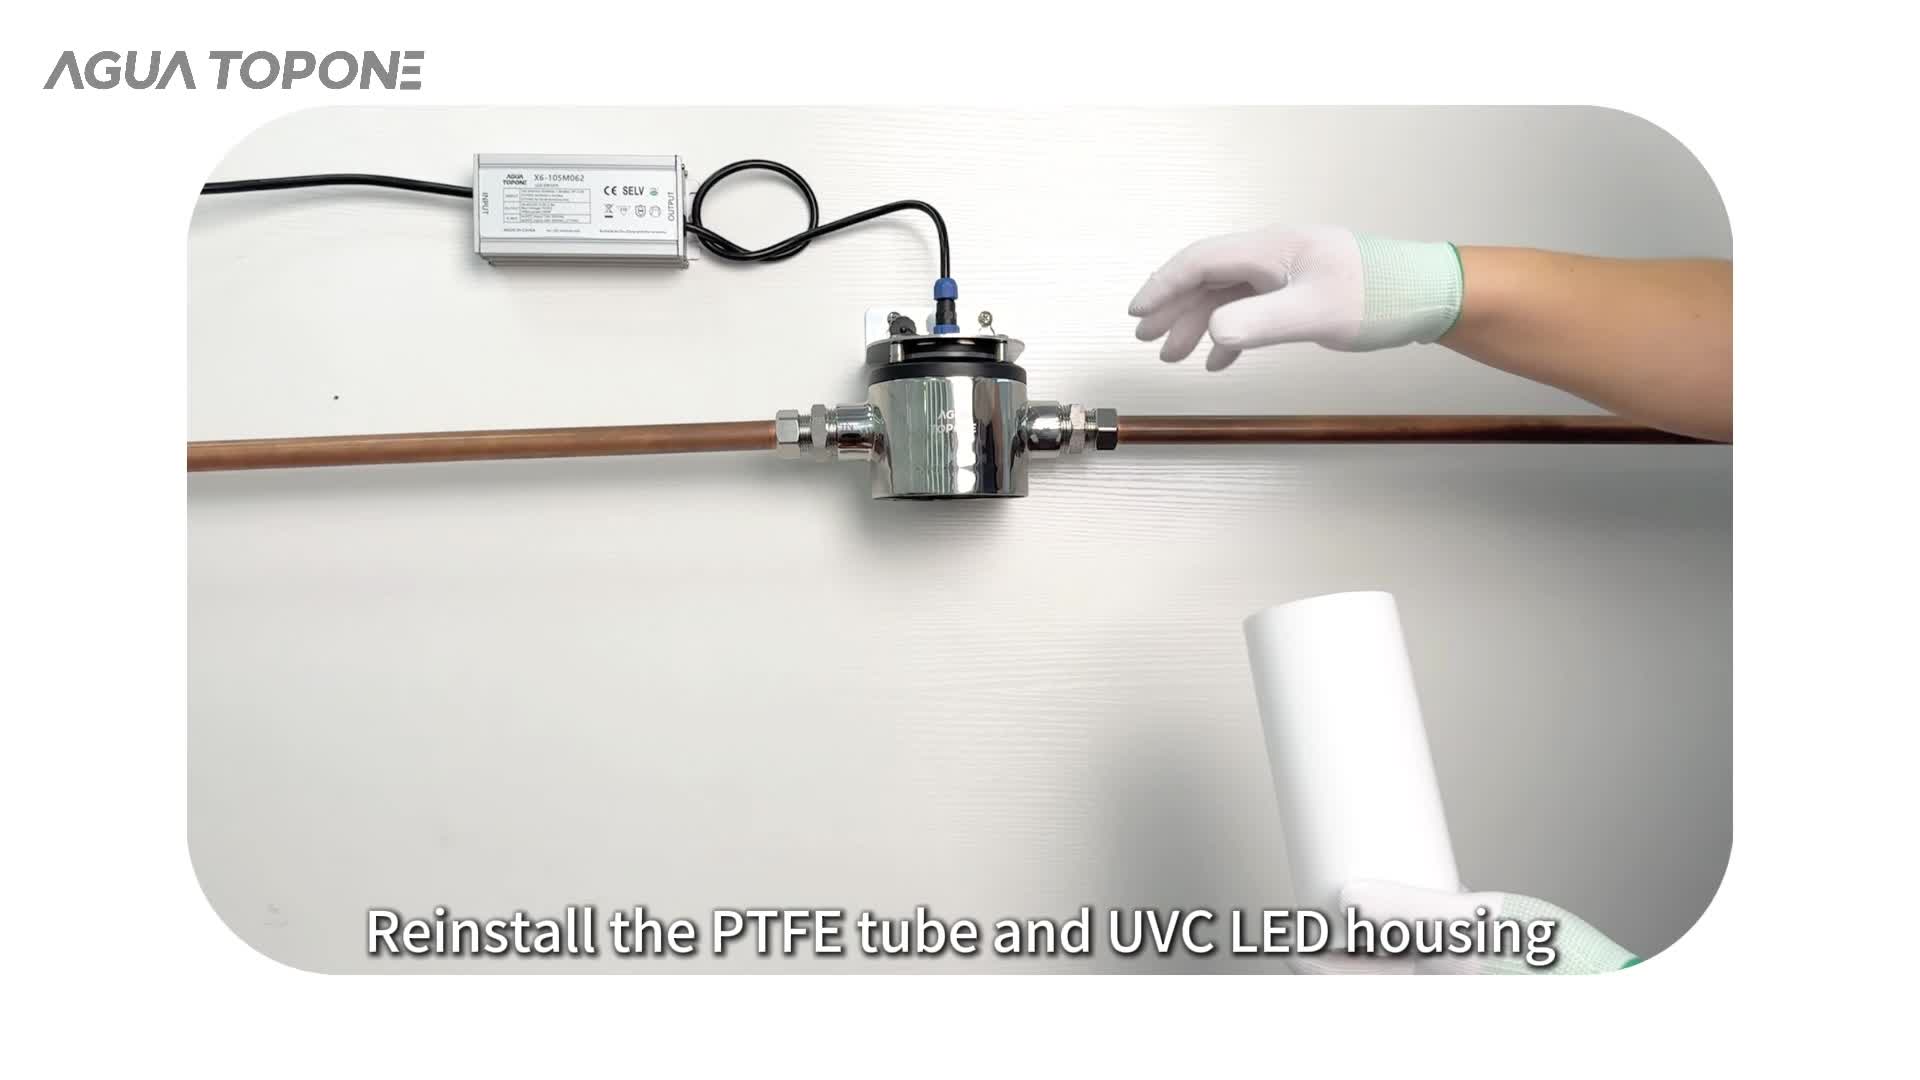
PTFE tube being returned before the AGLED-40012 housing is closedVIDEO 01:06
05

Reassemble the chamber

Return the PTFE tube to its original position. Check that the sealing parts for your unit are clean, undamaged and correctly seated, then reinstall the housing and tighten it clockwise as demonstrated.

Check Do not repressurize the unit if a seal is damaged or missing.

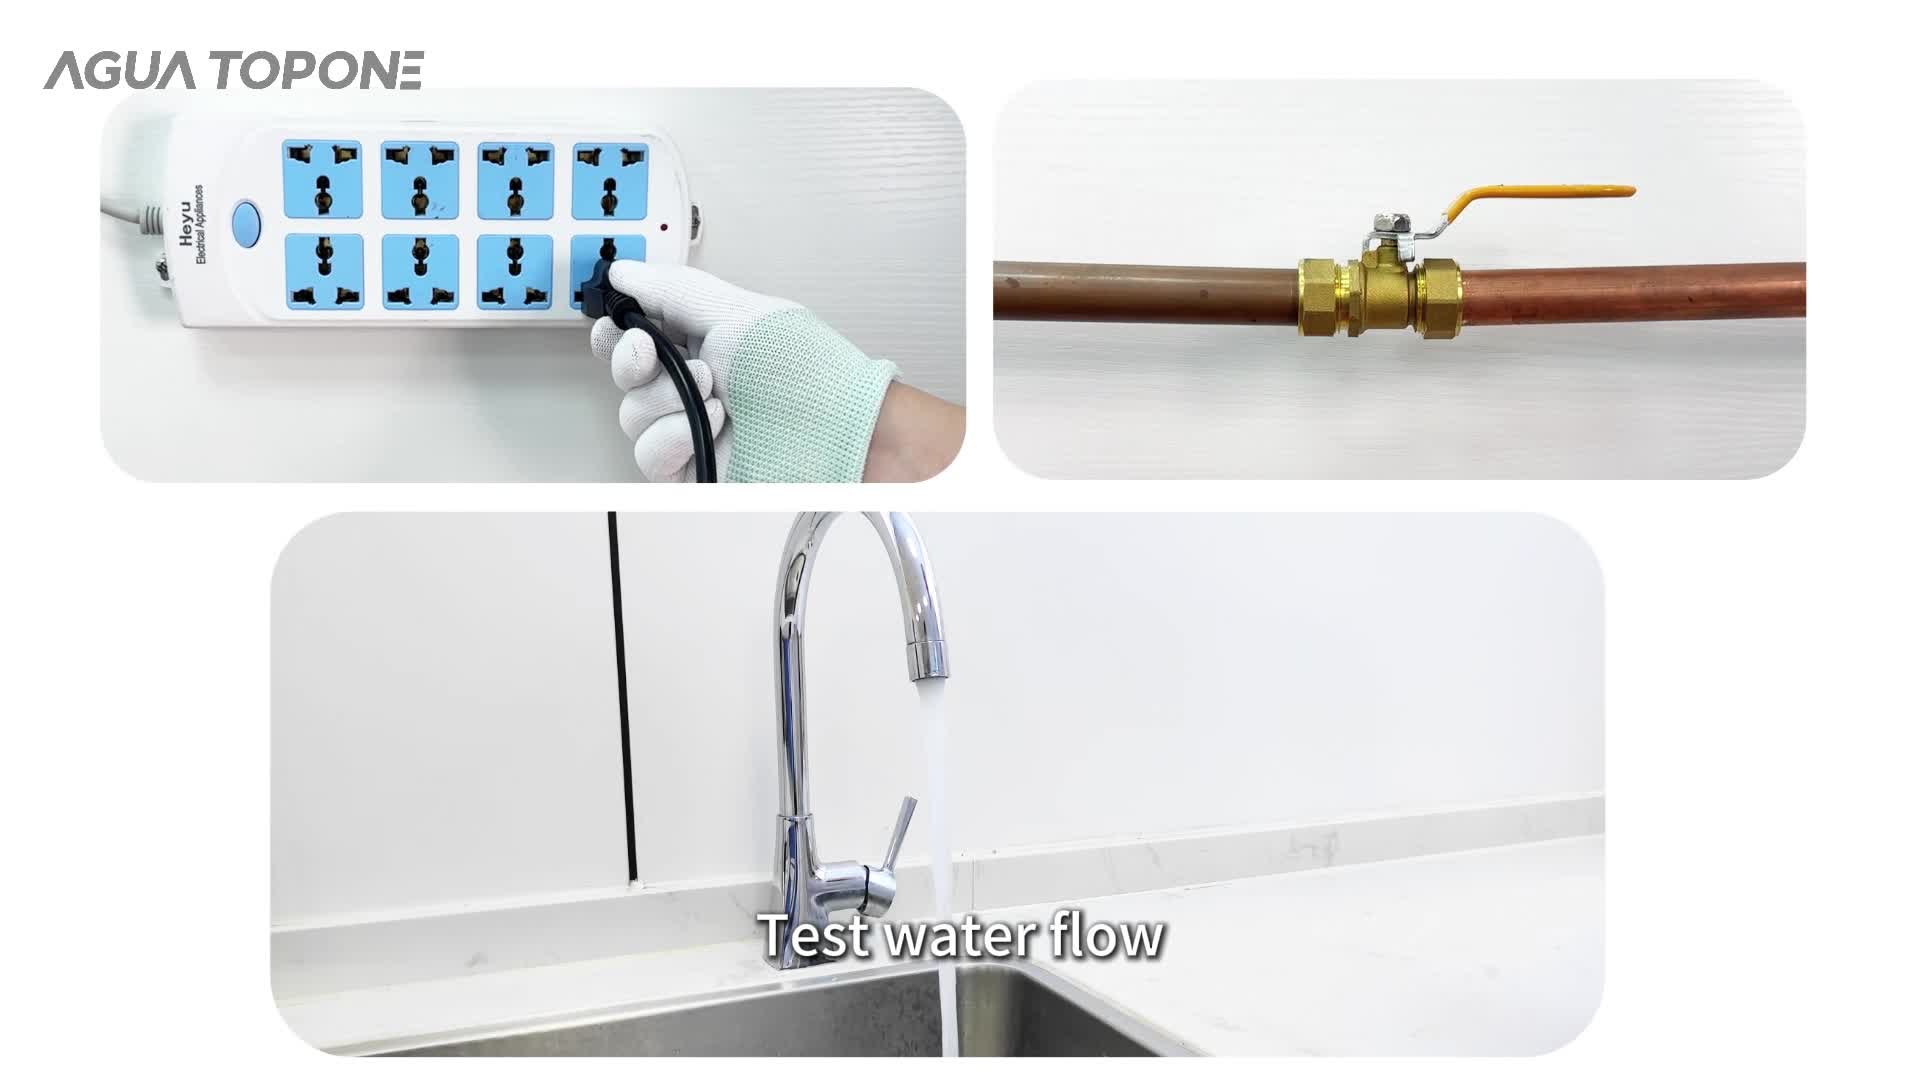
Water flow check after AGLED-40012 reassemblyVIDEO 01:17
06

Restore and check

Restore water and power according to the commissioning instructions. Check for leaks, confirm water flow and verify the driver’s operating indication. Keep electrical connections dry.

Check If a leak or abnormal indication appears, isolate the system again.

04 / VERIFY

Before returning the system to service

Follow the AGLED-40012 owner’s manual when restoring water and power. The operating indicator is a functional check; it does not verify disinfection performance.

  • Observe the housing and water connections for leaks for at least 30 minutes during recommissioning.
  • Water flows as expected through the reassembled system.
  • The driver indicates the expected operating state while water flows.
  • Electrical connections remain dry.

PARTS & DOCUMENTATION

Confirm the replacement module

Check the AGLED-40012 specifications and the service instructions supplied for your unit before replacement. For older configurations or multi-unit spare-parts planning, our team can help confirm compatibility.